Hello Everyone. I’m
back with another essentials article.
Today we will focus on the tools or items that I think you cannot stamp
without. Again these are just my
personal opinion. If you read my
Essentials: Card Making post you know I included some inks and stamp blocks
there, but this will go more in depth and focus on just stamping.
First lets’ set the scene for you to stamp…
Good Table
A good sturdy table makes all the difference when your
stamping, especially if using larger stamps like background stamps. You want one that does not give when you
press down on it. Now if that is all you
have available to you (yes this does happen) try to always do your stamping
over the table legs. This is where the table is the strongest.
Foam Pad
Yes, I know I just said you want a table with no give.
However, stamps do need a little bit of cushion sometimes, but not much. If I am having trouble stamping an image, I
pull out a piece of 2mm fun foam to do my stamping on. This usually does the trick. The foam is
dense enough that it doesn’t squish unevenly, but gives just that little bit of
give to allow the stamp to squish into paper. Check your local kids craft supply area for the sheets.

Car Chamois
Before you decide to quite reading hear me out. A chamois is the best stamp cleaning cloth
out there. It does not leave fibers
behind on your stamp and holds just the right amount of water to not make a
pooled mess. I discovered this on
Jennifer McGuire’s blog (a great resource by the way). After I saw her use it on one of her video’s
I went to my local discount store and bought one designed for cars, and cut it
up into about 14 pieces. I use a little seal able plastic container to keep 2 or
3 moist at once, and when it is all black (as that is what I tend to stamp in
most) I take it to the sink and wash it out.
It does stain, but once washed I have had no transfer to stamps. So get
with your friends and share. In this case a little goes a long way.

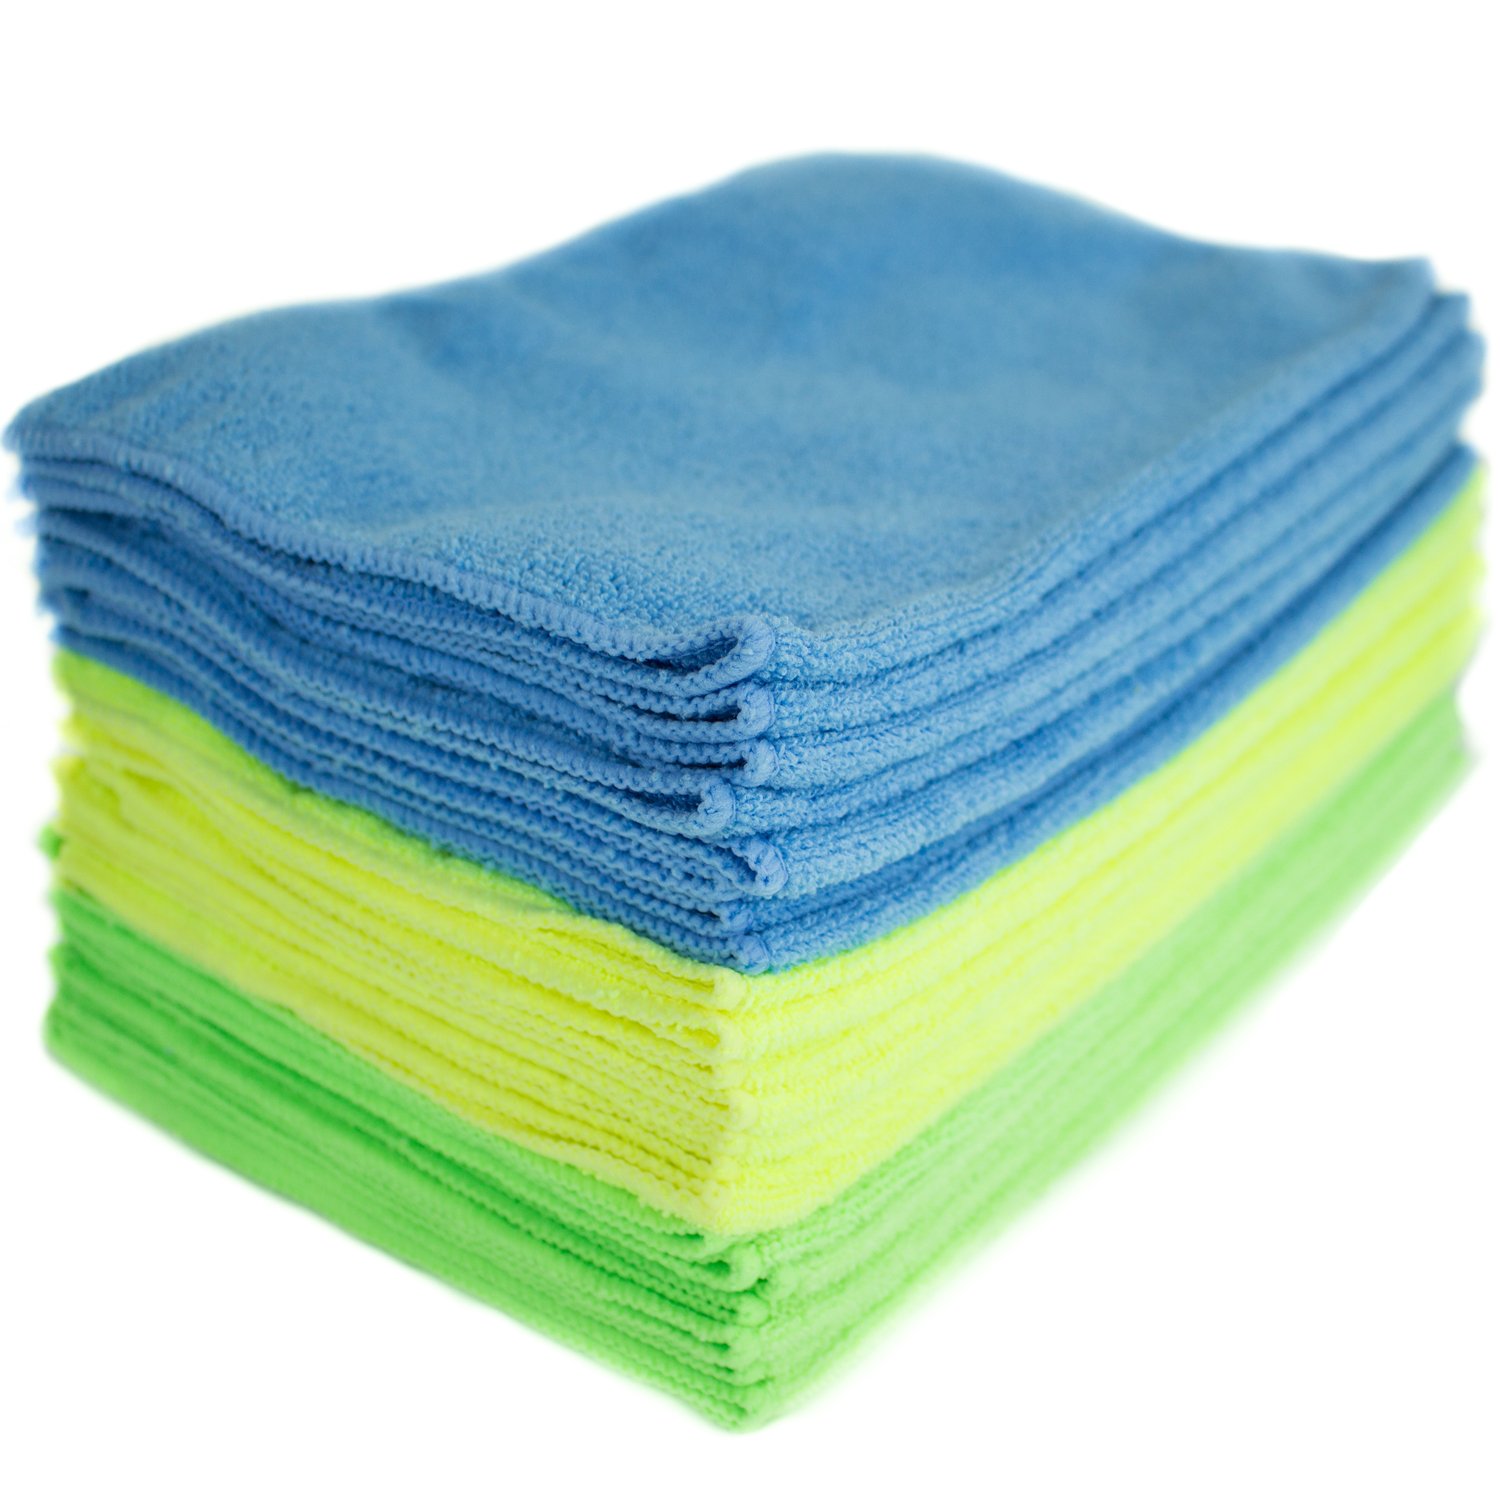
Micro Fiber Cloths
To dry my stamps or just clean up my work space I love
microfiber cloths. They pick up ink,
sprays, glitter, and pretty much anything else I through at them. When it’s laundry day I just throw them in
the washer with my other towels, and I good for my next adventure. These can be bought at a grocery store or your local discount store.
 I
INow on to the fun…
Scrap Paper
Use paper from your computer that you only printed on one
side of, go to your favorite store and buy a ream of cheap copy paper. Practice
first, especially if it is a new stamp. You need to see if there is spot that
doesn’t stamp well without more pressure, you might find that there is still
some of the manufacturing residue on the stamp, it might be mounted crooked. You
might have mounted it on your stamp block upside down (not that I have not done
that 1, 2, 100 times before).
Post it Notes or Post it tape
Ever see those images where it looks like one object is
behind or in front of another (think an animal in front of a tree)? You do this
by masking off the image you want to have in front. Post it Notes or Post it tape are great for
this, as they are very thin, so you will not impact the stamps, and that
removable glue allows you not to ruin your project. You can also use this technique to put that
party hat on your favorite animal.
Stamps of your choice
Every card maker has their own favorite stamps. Some only use wood mounted, some the Red or
Gray rubber, others only the clear acrylic. Some card makers like to stick with
one or two brands. The bottom line is it
depends on what you like. Many stamp companies
attract based on the images, others based on quality, and sometimes it’s just
so cute you have to have it.
Colored Inks
Here again it’s a personal preference. I will not say there
is any you must have. I admit unless I
am stamping flowers or trees, I use black for most of my stamping. There are occasions where I use colors for my
sentiment only about 2% of the time, but 95% of the time it’s black, and 3%
white ink as I am putting it on dark color paper. I also like to color images
in. So you really have to understand
what type of images you plan to use. If
I am going to stamp with a colored ink I tend to use pigment ink pads.
Coloring mediums
Once again this all depends on what you like and how you want
your image to look. It’s your choice!
You can use markers, colored pencils, watercolor paints or powders, paint, ink
pads with a blending stick. The only thing I will say is do your research
before you buy. There are so many great artists and paper crafters out there
that are willing to share tips, techniques, and in some cases teach. So check
out YouTube, do an internet search, check out your local craft store or, if
you are lucky, local convention. The other thing I will say is take a class if
you can. I have had the great opportunity over the years to take classes in
several different mediums, without have to make a large investment in product.
It paid off, let’s just say color pencils and most water coloring is not for me.
To fix the mistakes …
White gel pen
Sometimes that little dot of ink lands someplace you don’t
want it to. Other times, your more solid
areas didn’t quite get every spot. A white gel pen comes to the rescue. If it’s just a small dot of out of place ink
a white gel pen can be used to cover (that is assuming your using white paper
as your background) If there was that solid section of a stamp that didn’t
quite stamp evenly use your white gel pen to draw a design and no one will ever
know.

This is a special eraser that will actually sand off the
fibers in your paper, eliminating the unwanted ink. Unless your recipient is touching every spot
of your card with super sensitive fingers, or looking at it with a magnifying
glass they will never know. Just
remember use a light hand, you can always sand a bit more, but you can’t add
back on.

No comments:
Post a Comment